To optimize your soundbar’s performance, it’s essential to adjust your TV audio settings. Utilize HDMI ARC or optical outputs for superior sound quality and set your audio output to Bitstream to effectively decode surround sound formats. Experiment with sound modes such as “Movie” or “Clear Voice” tailored for specific content types. Additionally, activate dynamic range control to balance audio levels. Remember to regularly revisit and fine-tune your audio settings as room layouts change to ensure the best listening experience. For more tips on enhancing your soundbar’s audio quality and setup, continue exploring our site.
Key Takeaways
- Set the TV audio output to Bitstream for direct decoding of surround sound formats that are compatible with your soundbar.
- Utilize HDMI ARC or eARC connections to achieve high-bandwidth audio and facilitate two-way communication between your TV and soundbar.
- Explore sound modes such as “Movie,” “Music,” or “Clear Voice” to optimize audio performance based on the type of content you are watching.
- Adjust dynamic range control (DRC) to effectively balance sound levels, ensuring a consistent listening experience between quiet and loud scenes.
- Regularly review and update your audio settings to adapt to changes in your room and enhance the overall sound performance of your soundbar.
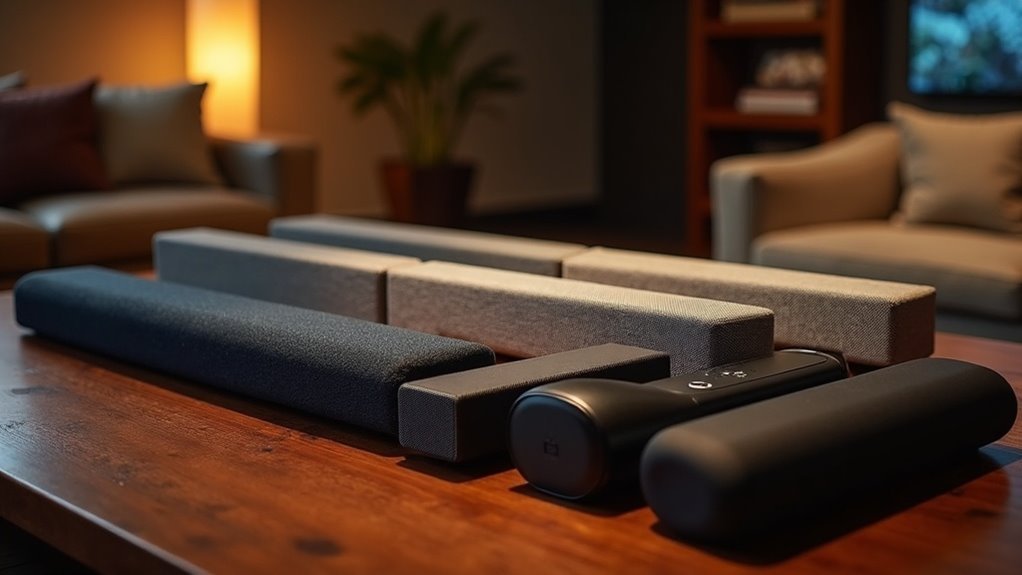
Why a Soundbar Is the Right First Step
When you’re looking to elevate your audio experience, a soundbar is often the ideal first step. Compared to built-in TV speakers, soundbars deliver superior sound quality through enhanced volume, clarity, and bass performance.
Many models support advanced surround sound formats like Dolby Atmos or DTS:X, providing immersive audio for movies and gaming. The compact design of soundbars simplifies setup, eliminating the need for complicated wiring while still maintaining high-quality sound.
Start With Placement
To achieve ideal sound quality from your soundbar, start by positioning it directly below your TV, aligning it with the screen height.
Ensure there are no obstructions that could interfere with sound projection, especially if the soundbar is placed in a cabinet.
For wall-mounted setups, position the soundbar approximately 6 inches below the screen to maintain a balanced audio field.
Optimal Soundbar Positioning
How can you guarantee the best audio experience from your soundbar? Ideal soundbar positioning is essential for enhancing sound quality and securing a clear audio signal. Follow these guidelines:
- Center the soundbar directly below the TV for aligned audio-visual content.
- If wall-mounted, place it about 6 inches below the screen for proper connection.
- Avoid cabinets; position the soundbar close to the front for improved sound projection.
- Maintain a clear line of sight from the soundbar to the seating area to enhance surround sound and prevent obstructions.
These steps will maximize your soundbar’s performance and elevate your listening experience.
Avoiding Obstruction Issues
Proper soundbar placement is only the first step in achieving an ideal audio experience; avoiding obstruction issues is equally important.
To guarantee peak audio performance, center the soundbar directly below your TV, maintaining a clear line of sight to the seating area. Avoid placing the soundbar inside cabinets or behind furniture, as this can obstruct drivers and degrade sound quality.
If you’re wall-mounting, position the soundbar approximately 6 inches below the screen. Should space be limited, mount it above the TV, ensuring it remains unobstructed for the best sound quality and a seamless audio experience.
Wall-Mounted vs. Stand-mounted
Where you place your soundbar can greatly impact your audio experience, whether you’ve opted for a wall-mounted or stand-mounted TV.
To achieve ideal audio performance, consider these guidelines:
- For wall-mounted TVs, install the soundbar about 6 inches below the screen to enhance sound clarity and immersion.
- With stand-mounted TVs, center the soundbar directly below the TV for optimal sound projection.
- If placing the soundbar inside a cabinet, ensure it’s positioned close to the front to avoid obstructing the drivers and diminishing audio quality.
- In limited spaces, placing the soundbar above the TV is an option, but be aware that this may compromise audio clarity. Always check for any obstructions that could affect sound projection.
These placement tips will help you maximize your soundbar’s performance and elevate your overall audio experience.
Choose the Best Input and Connection
To achieve the best audio performance from your soundbar, it’s crucial to select the right input and connection type.
Opting for HDMI ARC or eARC is essential, as these connections support high-bandwidth audio formats and simplify your setup.
Additionally, configuring your TV’s audio output to bitstream ensures that the soundbar can directly decode surround sound formats, ultimately enhancing your overall sound quality.
Optimal Connection Types
While various connection options exist, using the HDMI ARC or eARC port is essential for achieving peak audio quality with your soundbar. This setup allows for two-way audio communication and supports high-bandwidth formats like Dolby TrueHD.
To optimize your connection, consider these points:
- Prioritize HDMI ARC/eARC for superior sound clarity with your soundbar.
- Select Bitstream in your TV’s audio output settings for unprocessed audio signals to enhance your soundbar experience.
- Adjust TV settings to fully utilize HDMI ports for surround formats, ensuring your soundbar delivers the best audio performance.
- If HDMI isn’t available, use an optical cable as a secondary option, but note it generally offers lower quality than direct HDMI connections.
HDMI ARC Benefits
HDMI ARC offers significant advantages for connecting your soundbar to your TV, streamlining your audio setup. By utilizing the HDMI ARC port, you ensure superior audio quality, supporting high-bandwidth formats like Dolby TrueHD and uncompressed Atmos.
This connection disables your TV’s internal speakers, allowing the soundbar to receive an unprocessed audio signal, which enhances overall performance. To maximize these benefits, make sure that both your TV and soundbar settings are correctly configured for HDMI inputs.
If available, consider eARC for even higher audio fidelity, making it ideal for modern soundbars and TVs, ensuring a seamless and immersive audio experience.
Bitstream vs. PCM
Choosing between Bitstream and PCM is essential for maximizing your soundbar’s performance. Bitstream allows your soundbar to decode surround sound formats directly, enhancing audio quality, especially with Dolby Digital. PCM, while simpler, can limit your experience by processing audio through the TV.
For the best results with your soundbar, consider these points:
- Use HDMI ARC or eARC for optimal audio output.
- Ensure your soundbar supports Bitstream for advanced surround formats.
- Disable internal TV speakers to prevent audio interference and enhance sound clarity.
- Opt for PCM if your soundbar lacks compatibility with Bitstream.
Make the right choice to enjoy immersive sound and elevate your audio experience with your soundbar.
Check and Tune the Sound Modes
When you connect a soundbar to your TV, it’s essential to check and tune the sound modes to optimize your audio experience.
Many soundbars offer sound modes like “Movie,” “Music,” and “Clear Voice.” Using the “Clear Voice” setting enhances dialogue clarity, especially during quiet scenes, making it ideal for watching films or shows with intricate dialogue.
The “Movie” mode activates surround sound, enriching your audio immersion for a more cinematic experience. Additionally, adjusting the dynamic range control (DRC) on your soundbar balances sound levels, preventing volume disparities between quiet dialogue and loud action sequences.
To ensure the best possible audio quality, confirm that your TV’s audio output is set to Bitstream, allowing the soundbar to decode surround formats effectively.
Use Auto Calibration or Test Tones
Many soundbars now feature auto calibration capabilities that make fine-tuning your audio setup straightforward. This process uses built-in microphones to analyze room acoustics and adjust speaker levels for peak sound quality.
To get the best results:
- Perform calibration in a quiet environment to avoid interference.
- Use test tones for manual adjustments, helping level channels effectively.
- Regularly utilize calibration features to enhance dialogue clarity.
- Explore specific sound modes, like dialogue enhancement, refining them with calibration for different content types.
These steps guarantee your soundbar delivers a balanced and immersive audio experience.
Subwoofer Setup Tips
Properly setting up your soundbar is essential for achieving an immersive audio experience.
Place your soundbar directly under or above your TV for optimal sound projection. Experiment with its placement to find the best position that balances sound with your main seating area.
Position your soundbar just above or below your TV for the best sound projection and adjust its placement for optimal listening.
Adjust the soundbar’s audio settings, such as treble, bass, and surround sound features, to tailor the audio to your room’s acoustics. Utilize a calibration feature, if available, to optimize the soundbar’s output for a more enriched listening experience.
Confirm that the soundbar is properly connected and configured to maximize its effectiveness for an enhanced overall audio experience.
Add Rear Speakers If You Can
To truly elevate your audio experience with your soundbar, consider adding rear speakers to your setup. This enhancement creates immersive surround sound, perfect for movies and gaming.
Here’s how to optimize your soundbar setup with rear speakers:
- Position rear speakers just behind and to the sides of your seating area at ear level for the best audio experience.
- Choose compatible models, like those designed to pair seamlessly with popular soundbars such as the Sonos Arc.
- Adjust surround volume to ensure a balanced mix between dialogue and action sounds for an optimal listening experience.
- Invest in quality rear speakers to significantly boost your audio quality, enriching your overall home theater experience.