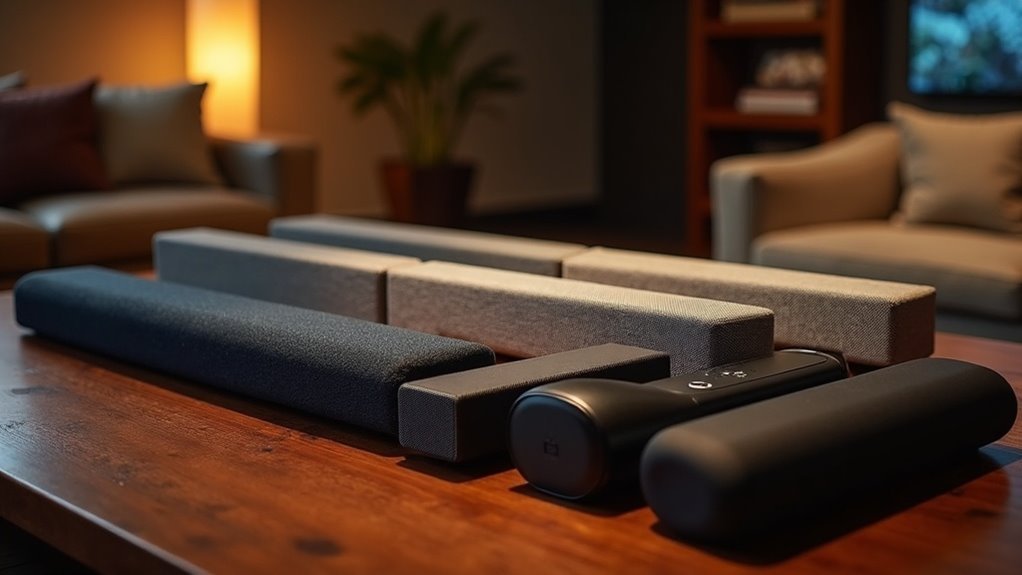
To measure soundbar SPL levels accurately, begin with a calibrated type 2 SPL meter set to C-weighting and Slow response. Position the meter at ear level, approximately 1 meter from the soundbar. Play a consistent test tone at a reference level around 70 dB to capture stable readings. Analyze the results by comparing them to soundbar benchmarks, while also adjusting for room acoustics that can impact sound quality. For further insights into refinement techniques specific to soundbars, continue exploring this topic.
Key Takeaways
- Use a calibrated type 2 SPL meter set to C-weighting and Slow response mode for accurate measurements of your soundbar’s performance.
- Position the SPL meter at ear level, about 1 meter from the soundbar, to minimize any interference during measurement.
- Play a consistent test tone at a reference level of around 70 dB while recording the SPL levels produced by the soundbar.
- Analyze the measured SPL levels against target benchmarks, aiming for around 75 dB for optimal listening experience with your soundbar.
- Regularly calibrate the SPL meter and maintain a quiet environment to ensure reliable data collection for your soundbar settings.
Why Accurate SPL Measurement Matters
Accurate SPL measurement is crucial for assessing your soundbar’s performance, as it ensures that sound levels meet your expectations for an immersive audio experience.
To achieve this, utilize an SPL meter set to C weighting and a Slow response setting. This configuration allows you to measure sound in a manner that mirrors human auditory perception, enhancing your sound calibration process.
Regularly monitoring SPL levels is also vital for preventing hearing damage, keeping you informed of exposure limits as advised by organizations like NIOSH.
Ultimately, understanding your SPL levels is key to achieving a well-balanced audio mix, maximizing the sound quality of your soundbar.
Understanding SPL Meters
Understanding SPL meters is essential for anyone looking to measure sound pressure levels accurately, especially when optimizing soundbars for the best audio experience.
Here are key aspects to take into account:
- Calibration: Ensure your SPL meter is calibrated to provide accurate dB SPL readings, which is critical for assessing soundbar performance.
- Weighting Settings: Select A-weighting for general noise measurements or C-weighting for evaluating the full frequency response of your soundbar.
- Placement: Position the SPL meter at ear level in relation to the soundbar to obtain stable and reliable measurements.
- Response Time: Utilize the Slow response setting to capture a more representative average of sound levels produced by your soundbar.
Setting Up Your SPL Meter
To effectively set up your SPL meter for soundbar calibration, begin by positioning it at ear level, as this height ensures that the readings accurately reflect your actual listening experience. Using a tripod can help minimize body interference with the measurements. Set the SPL meter to C weighting and Slow response mode to achieve stable readings. Position the meter approximately 1 meter away from the soundbar, adjusting the distance if your typical listening position varies. Start the calibration process with the soundbar volume set to a reference level of around 70 dB. Regularly check the SPL meter with internal test tones from the soundbar to maintain consistent sound pressure levels.
| Setup Step | Description |
|---|---|
| Positioning | Ear level, 1 meter from soundbar |
| Meter Settings | C weighting, Slow response mode |
| Calibration Volume | Start at 70 dB for baseline |
Conducting the Measurement
Once you’ve set up your SPL meter, you can begin conducting the measurement to evaluate your soundbar’s performance.
Follow these steps for accurate sound pressure levels:
- Position the SPL meter at ear level, about 1 meter from the soundbar.
- Set the meter to C-weighting and Slow response for stable readings.
- Use a calibrated type 2 sound meter to guarantee reliable results.
- Play a consistent test tone at a known reference level, recording SPL levels across different volume settings.
These steps will help you capture precise measurements, allowing for a thorough analysis of your soundbar’s performance.
Analyzing the Results
When you read the SPL meter results for your soundbar, focus on comparing the measured levels to your target benchmarks, such as 75 dB for ideal listening.
Interpreting these sound levels requires you to consider room acoustics, as reflections can significantly alter your perception of loudness and clarity.
Reading SPL Meter Results
Analyzing SPL meter results for soundbars requires careful consideration of several factors that influence sound measurement.
To accurately assess your soundbar’s performance, keep these points in mind:
- Weighting: Use A-weighting for mid/high frequencies or C-weighting for all frequencies, as this can significantly impact perceived loudness.
- Response Setting: A slow response setting provides a stable average level, which is useful for obtaining consistent sound readings when evaluating your soundbar.
- Placement: Position the SPL meter at ear level in the primary listening area to ensure that the results are relevant to your listening experience with the soundbar.
- Calibration: Regularly calibrate the SPL meter against a known reference, aiming for around 75 dB to achieve an ideal listening experience with your soundbar.
Interpreting Sound Levels
How can you accurately interpret the sound levels measured from your soundbar? Begin by measuring SPL at a standard distance, typically 1 meter, to ensure consistency.
Keep in mind that SPL readings can drop by 6 dB at 2 meters, which is important for understanding your soundbar’s performance in different listening environments.
Utilize an SPL meter with C-weighting and a slow response time to capture stable readings that reflect human perception, particularly for the nuanced sound quality of your soundbar.
Pay attention to the frequency response; lower frequencies may distort measurements due to room acoustics, which can affect your overall listening experience.
Regularly calibrate your meter against known standards and monitor SPL levels, as prolonged exposure above 85 dB can pose hearing risks.
This thorough approach guarantees reliable sound level interpretation, enhancing your enjoyment of your soundbar.
Common Measurement Pitfalls
When measuring soundbar SPL levels, you’re prone to several common pitfalls that can distort your results.
Inconsistent placement of the soundbar, incorrect weighting settings on your measurement equipment, and interference from background noise can all lead to inaccurate readings.
It’s crucial to address these factors to ensure your measurements accurately reflect the soundbar’s performance.
Inconsistent Meter Placement
Inconsistent placement of the SPL meter can significantly impact your sound level readings when evaluating soundbars, as sound characteristics vary dramatically based on proximity to the sound source.
To achieve accurate measurements, adhere to these guidelines:
- Position the SPL meter at ear level to ensure relevance to the listening experience.
- Use a tripod to stabilize the meter, minimizing body movement interference during measurements.
- Avoid placing the meter too close or too far from the soundbar to accurately reflect true sound dispersion.
- Regularly recalibrate the meter and maintain consistent placement across multiple measurements for reliable data.
Following these steps guarantees you capture precise sound levels from your soundbar, enhancing your overall measurement accuracy.
Ignoring Weighting Settings
Why overlook weighting settings when measuring soundbar SPL levels? Ignoring these settings, such as A-weighting or C-weighting, can lead to inaccurate measurements that affect your soundbar experience.
A-weighting filters out low frequencies, which are crucial for evaluating the performance of your soundbar. On the other hand, C-weighting is often recommended as it captures a broader frequency response, providing a more accurate reflection of perceived loudness.
Many people mistakenly believe that A-weighting is sufficient for all audio, overlooking the low-end frequencies that are essential for immersive sound experiences with soundbars.
Additionally, using a “Slow” setting on your SPL meter can misrepresent average sound levels. Always make sure to adjust your SPL meter based on the audio content to ensure consistent, reliable measurements for optimal soundbar calibration.
Noise Interference Issues
Accurate sound pressure level (SPL) measurements for soundbars depend not only on the right settings but also on minimizing noise interference. Here are some common pitfalls to avoid:
- Background Noise: Ensure your environment is quiet to prevent external sounds from affecting the readings of your soundbar.
- Wind Noise: Take measurements indoors or during calm conditions to avoid fluctuations that could interfere with soundbar performance.
- SPL Meter Positioning: Don’t place the SPL meter too close to the soundbar; measure from the typical listening position to get an accurate representation of sound quality.
- Room Acoustics: Consider reflections from walls and furniture, as they can create standing waves and mislead your results, especially when using analog meters instead of digital meters for soundbar evaluations.
Recommended SPL Meters for Soundbars
To effectively measure soundbar SPL levels, selecting the right SPL meter is essential for obtaining reliable data. Recommended options include the Extech 407730 and Galaxy Audio Check Mate – CM-130, both of which deliver accurate readings in home audio settings.
When assessing soundbars, look for digital SPL meters with A-weighting settings to align measurements with human hearing perception. A slow response time feature stabilizes readings during dynamic audio playback, capturing consistent sound pressure levels.
For ideal results in evaluating soundbar output levels, position the SPL meter at ear level, about 1 meter from the soundbar.
Maintaining Your SPL Meter
Maintaining your SPL meter is essential for ensuring it provides reliable and precise readings during soundbar evaluations.
Proper maintenance of your SPL meter is crucial for achieving accurate soundbar performance readings.
To achieve peak accuracy in measuring soundbar performance, follow these steps:
- Calibrate your SPL meter regularly with internal test tones or calibration discs specifically designed for soundbars.
- Store your meter in a protective case to shield it from moisture and dust, which can affect sound readings.
- Clean the microphone and housing periodically with a soft, dry cloth to prevent dirt buildup that could interfere with measurements.
- Replace the battery as needed, ensuring the meter is powered off when not in use to conserve energy.
Always consult the manufacturer’s guidelines for specific maintenance instructions tailored to your SPL meter model to ensure optimal performance during soundbar evaluations.