To test your soundbar’s frequency response using phone apps, begin by selecting an app that features Real-Time Analyzer and Fast Fourier Transform capabilities. Ensure you’re in a quiet environment, positioning the soundbar at ear level for optimal results. For more accurate data capture, consider using an external USB microphone. Play test tones ranging from 20Hz to 20kHz through the soundbar. Once you’ve captured the data, utilize a spectrum analyzer app to evaluate the performance of your soundbar. Additionally, you’ll discover more techniques to refine your measurements and enhance your soundbar experience.
Key Takeaways
- Select a reliable audio analysis app with Real-Time Analyzer (RTA) and Fast Fourier Transform (FFT) capabilities for accurate frequency response testing of your soundbar.
- Use an external USB microphone for better accuracy, ensuring it is properly calibrated before testing your soundbar.
- Create a quiet testing environment, positioning the soundbar at ear level and equidistant from walls to minimize reflections during the testing process.
- Generate .WAV test tones from 20Hz to 20kHz, capturing data at various volume levels to ensure a consistent evaluation of your soundbar’s performance.
- Analyze the captured frequency response data using a spectrum analyzer app to assess and compare the performance of your soundbar across the audible spectrum.
Choosing the Right Audio Analysis App
How do you choose the right audio analysis app for testing your soundbar’s frequency response? Start by selecting apps like Advanced Spectrum Analyzer Pro or Holmimpulse, which are well-regarded for their robust features and user-friendly interfaces specifically tailored for soundbar performance.
Ensure that the app includes Real-Time Analyzer (RTA) and Fast Fourier Transform (FFT) capabilities for comprehensive frequency analysis that aligns with soundbar testing needs. Microphone calibration is crucial, particularly if you’re using a built-in phone microphone, to improve measurement accuracy for your soundbar.
Check for compatibility with your device’s operating system, as many apps require specific Android or iOS versions. Lastly, review user experiences to gauge the app’s effectiveness in accurately measuring your soundbar’s frequency response.
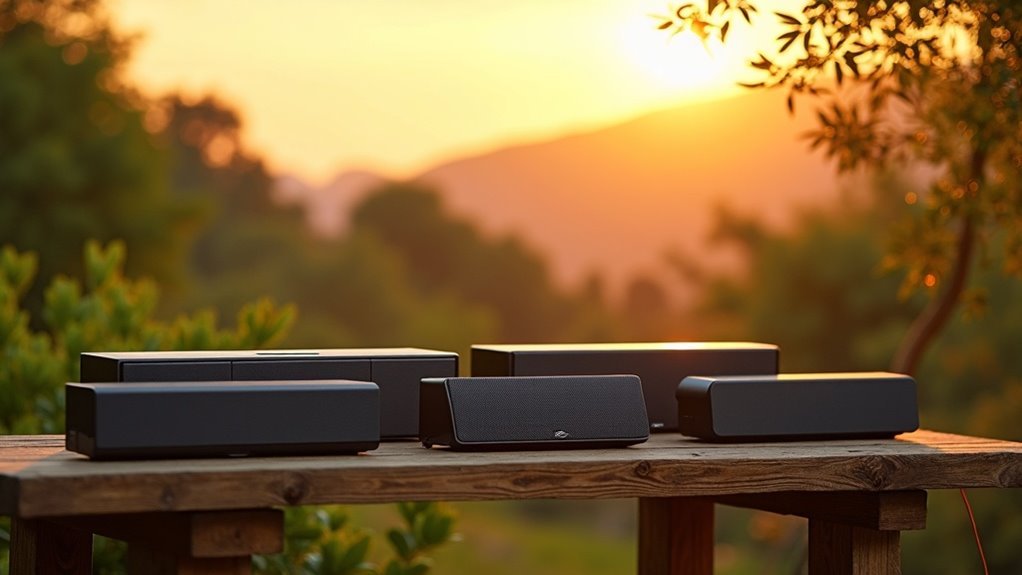
Setting Up Your Testing Environment
A quiet and controlled testing environment is essential for accurately evaluating your soundbar’s frequency response.
A quiet, controlled environment is crucial for precise evaluation of your soundbar’s frequency response.
Follow these steps to optimize your setup for spectrum analysis:
- Confirm the room is free from external noise to minimize interference.
- Position your soundbar at ear level, equidistant from walls to avoid reflections.
- Use an external USB microphone for better accuracy over built-in phone microphones, which may not capture sound quality effectively.
- Download and calibrate a frequency response testing app, like Advanced Spectrum Analyzer Pro, to assess your soundbar’s performance accurately.
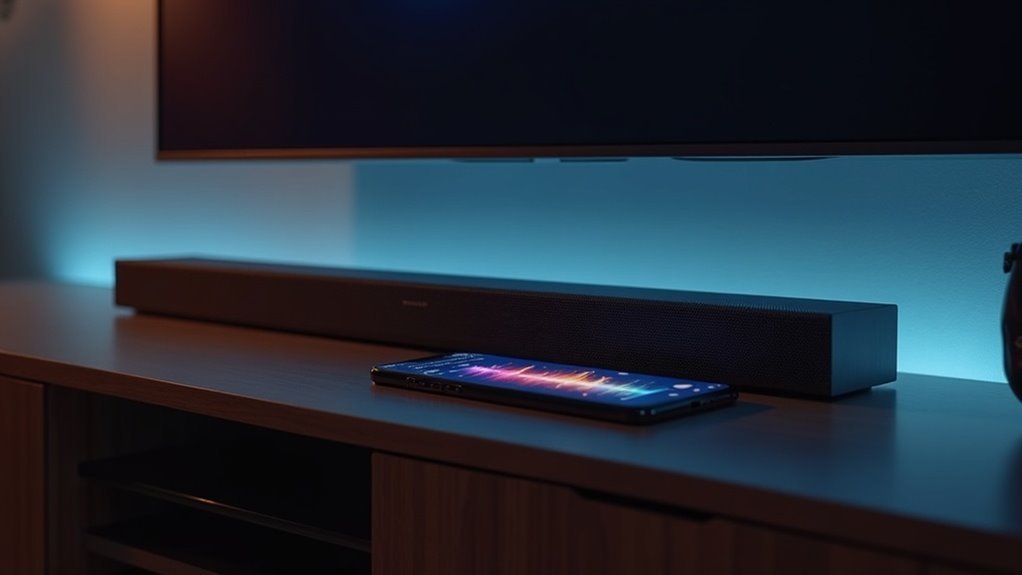
Playing Test Tones and Capturing Data
Playing test tones is a critical step in evaluating your soundbar‘s frequency response. Use a phone app like Advanced Spectrum Analyzer Pro or Holmimpulse to generate .WAV files that span from 20Hz to 20kHz.
Position your phone at the listening spot and connect an external USB microphone, such as the Dayton Audio UMM-6, for accurate measurements. Built-in microphones may yield unreliable data, especially at low frequencies, so confirm proper calibration.
Capture frequency response data at various volume levels to highlight performance consistency across your soundbar. This method allows you to effectively analyze your soundbar’s performance across the audible spectrum, enhancing your assessment.
Analyzing Frequency Response Results
After capturing frequency response data for your soundbar using your chosen app and microphone, the next step is to analyze the results effectively.
Utilize a reliable Spectrum Analyzer app to examine the frequency response graphs for peaks and dips. Pay attention to these key aspects:
- Assess the frequency range (20Hz to 20kHz) captured by the soundbar.
- Compare results based on soundbar quality; higher-end models yield better accuracy.
- Confirm calibration of the measuring microphone to avoid inaccuracies in your analysis.
- Consider room acoustics, as reflections can skew the perceived frequency response of the soundbar.
Tips for Improving Measurement Accuracy
To achieve accurate frequency response measurements of your soundbar, utilizing an external USB microphone is essential, as it typically provides superior data compared to a phone’s built-in microphone. Properly calibrate your microphone before testing to enhance reliability. Use test tones spanning 20Hz to 20kHz to identify performance peaks or dips in your soundbar. Conduct measurements in a quiet environment to minimize background noise interference, ensuring that you capture the true performance of your soundbar. Consider using an Advanced Spectrum Analyzer app with calibration features for improved baseline accuracy.
| Tip | Description |
|---|---|
| Use External USB Microphone | Provides better data than a phone mic |
| Proper Calibration | Enhances measurement reliability |
| Wide Frequency Range | Test from 20Hz to 20kHz |
| Quiet Environment | Reduces background noise interference |
| Use Calibration Features | Improves baseline accuracy |