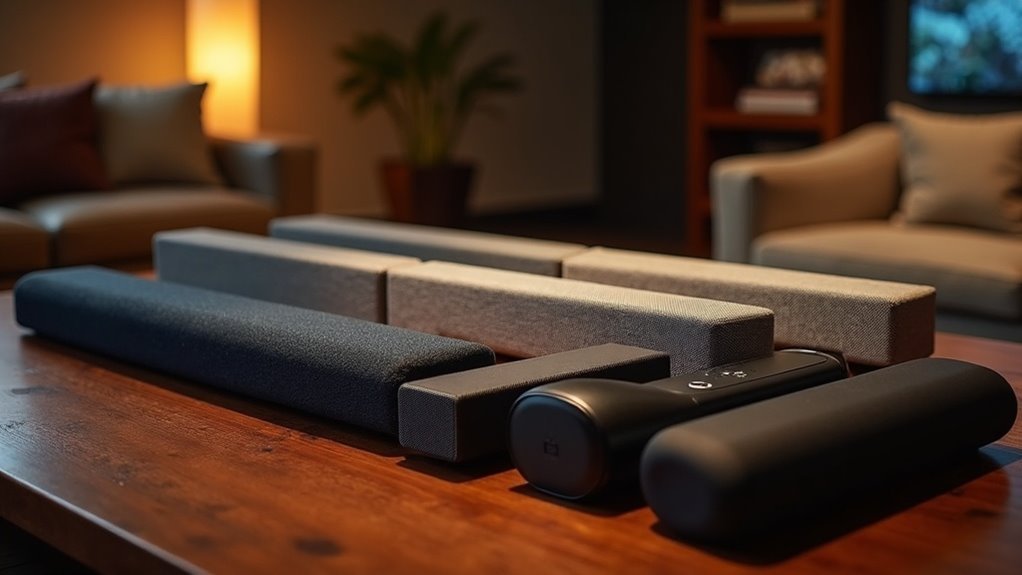
To test soundbar speaker drivers individually, start by unplugging the unit and removing the grilles for access. Measure the impedance with a multimeter and conduct a battery test for cone movement. Use frequency sweep audio files to evaluate performance by playing tones from 20 Hz to 20 kHz while listening for any distortions. Analyze the results with audio software to gauge frequency response and distortion levels. Understanding these metrics will reveal deeper insights into the sound quality of your soundbar.
Key Takeaways
- Disconnect the soundbar from power and remove any speaker grilles to safely access the individual drivers.
- Use a multimeter to measure the impedance of each driver, which is crucial for evaluating soundbar performance.
- Conduct a battery test to check for cone movement, ensuring that each driver is functioning properly.
- Run frequency sweeps from 20 Hz to 20 kHz while listening for distortions and utilizing software to visualize the frequency response of the soundbar.
- Analyze performance metrics such as total harmonic distortion and impedance curves for clarity and smooth frequency transitions in the soundbar’s audio output.
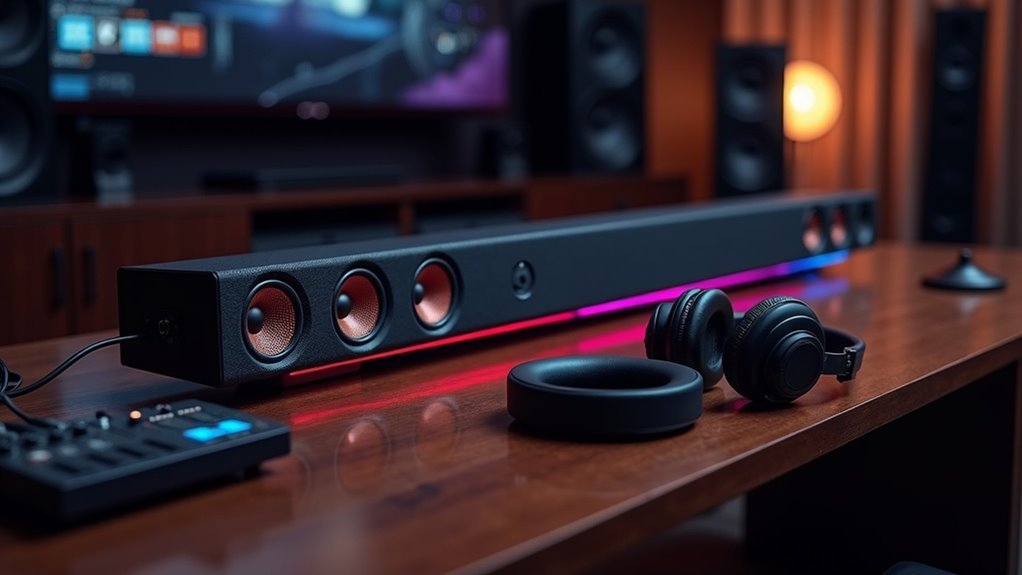
Understanding Soundbar Speaker Drivers
When you explore the world of soundbars, it’s essential to recognize that their speaker drivers are meticulously engineered to handle specific frequency ranges.
Typically, soundbars include woofers for low frequencies, mid-range drivers for vocals, and tweeters for high frequencies. Each driver is fine-tuned to deliver balanced sound quality, from deep bass to crisp treble.
Multiple drivers often work together, employing technologies like passive radiators to enhance bass without enlarging the unit.
Understanding the frequency response and sensitivity ratings of each driver allows you to assess sound quality and ensure compatibility with various audio sources for an ideal listening experience in your home entertainment setup.
Preparing for Testing
Before you start testing your soundbar speaker drivers, ensure that the unit is unplugged to eliminate any risk of electrical hazards.
Gather essential tools like a multimeter, 9V battery, and frequency sweep audio files for a thorough evaluation of the soundbar’s driver performance.
Additionally, review the manufacturer’s manual for specific testing instructions to safeguard against potential damage to your soundbar.
Equipment Needed
Testing soundbar speaker drivers requires a specific set of equipment to ensure accurate and reliable results.
For effective sound testing, a calibrated measurement microphone is essential to capture sound. A two-channel audio interface is necessary for routing audio signals to the soundbar while receiving feedback from the microphone. An HDMI extractor helps in separating audio from HDMI signals, preventing any interference with video outputs.
Furthermore, software tools like Soundcheck are crucial for conducting frequency sweeps, THD measurements, and analyzing driver performance.
Lastly, make sure you have a computer with a compatible operating system and drivers to run the audio interface and testing software seamlessly.
Safety Precautions
Guaranteeing safety during the testing of soundbar speaker drivers is essential to prevent accidents and equipment damage.
Follow these safety precautions when you test soundbars:
- Always disconnect the soundbar from power sources to avoid electrical shock or device damage.
- Use appropriate tools like a multimeter and a 9V battery to ensure accurate results and prevent mishandling.
- Monitor for overheating during prolonged testing sessions, as excessive heat can harm soundbar components.
Isolating Individual Drivers
To effectively isolate individual drivers in a soundbar, begin by disconnecting the unit from any power source. If your soundbar has removable speaker grilles, take them off to access each driver directly. Use a multimeter to measure the speaker’s impedance by connecting the leads to the terminals. Perform a battery test by briefly connecting a 9-volt battery to check for cone movement. Additionally, you can utilize a test tone generator to detect any distortion in sound. Lastly, conduct a visual inspection for any physical damage on the drivers.
| Driver Type | Impedance Test | Battery Test |
|---|---|---|
| Woofer | 4 ohms | Cone moves |
| Midrange | 8 ohms | Cone moves |
| Tweeter | 6 ohms | Cone moves |
Connecting Measurement Equipment
After isolating individual drivers in your soundbar, connecting measurement equipment becomes the next critical step for thorough analysis.
Follow these steps to ensure an accurate setup:
- Connect a calibrated measurement microphone to an audio interface linked to your computer.
- Use an HDMI extractor to separate audio signals, granting individual access to each driver within the soundbar.
- Position the measurement microphone about half a meter from the driver, centered for ideal sound capture.
Ensure your audio interface and measurement software match the sampling rate, typically 44.1 kHz, to prevent synchronization issues.
Matching your audio interface and measurement software’s sampling rate, usually 44.1 kHz, is crucial to avoid synchronization problems.
Finally, configure the software to recognize the audio interface and set the output channels appropriately for accurate soundbar analysis.
Running Frequency Sweeps
As you run frequency sweeps on soundbars, you’ll play a continuous tone that gradually shifts across the audible spectrum, typically from 20 Hz to 20 kHz, to evaluate each speaker driver’s performance.
Place a calibrated microphone about half a meter from the soundbar to capture accurate frequency response data. During these sweeps, listen for distortions, rattles, or buzzes that might indicate driver issues, such as voice coil rub or cabinet vibrations.
Software like REW (Room EQ Wizard) can visualize frequency response curves, helping you identify performance peaks and dips in the soundbar. Testing individual drivers with specific tones can further reveal any underperformance or malfunctions.
Analyzing Performance Metrics
When evaluating soundbar speaker drivers, analyzing performance metrics is crucial for understanding their audio capabilities.
Focus on these key aspects:
- Frequency Response Measurements: Aim for a flat response curve to ensure accurate sound reproduction, which is essential for delivering an immersive audio experience in your soundbar.
- Total Harmonic Distortion (THD): Measure at 1W; levels below 3% indicate a high level of clarity and fidelity, ensuring that your soundbar delivers high-quality sound.
- Impedance Curves: Smooth shifts without unexpected peaks signify healthy driver function, which is vital for consistent performance in your soundbar.
Utilizing audio analysis software can further assess dynamic range and sensitivity, with ideal ratings between 85 to 90 dB for soundbars.
Documenting and Comparing Results
Documenting and comparing results from soundbar speaker driver tests is essential for making informed decisions about audio performance. Record each soundbar driver’s frequency response, total harmonic distortion (THD), and any rub or buzz issues to establish a detailed performance metric.
Maintain consistent testing conditions—like microphone placement and audio input settings—to guarantee valid comparisons. Include specific measurements, such as frequency range and impedance readings, to provide quantifiable data.
Compare these results against manufacturer specifications and performance benchmarks to identify deviations or weaknesses. Organize your findings into charts or tables for straightforward visualization, enabling quick identification of trends across multiple soundbar tests.